
Painting a large room can be daunting, but with the right tactics and lots of hard work you can get the job done quickly and efficiently. Let us dive into the fastest way to paint a large room so that your project is completed in no time!
Tools and Materials
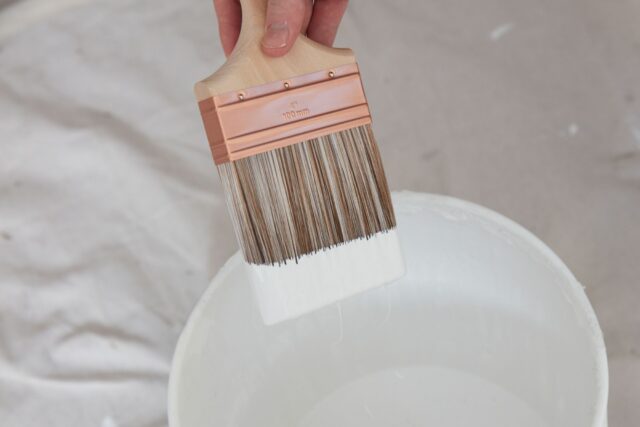
For large room painting it is important to have the right tools and materials for the job. Before beginning the project, make sure to have a quality paint brush or roller, painter’s tape, a drop cloth or plastic sheeting, painter’s plastic for corners and windows, an extension ladder (or step ladder), a paint pail with a grid insert and quality latex or acrylic-based paint.
The brush or roller should have thick fibers that can hold plenty of paint to help you finish faster. Painter’s tape is best for protecting trim and other surfaces around the room. You should also cover your floor with a drop cloth or piece of plastic sheeting while painting to protect it from spills. The painter’s plastic should be placed around both exterior corners as well as any window frames that you don’t want to spoil with splashes of wet paint.
When painting walls and ceilings high up on the wall, you will need an extension ladder (or step ladder). If using an extension ladder, make sure it is secure in all positions before climbing up. Safety first! A typical two-gallon pail filled with paint will work best when inserted into an easy-to-carry grid insert pail. Lastly but most importantly is your choice in quality paints like latex or acrylic-based paints which come in all types of finishes for different situations such as interior walls, garage floors etc.
Preparing the Room
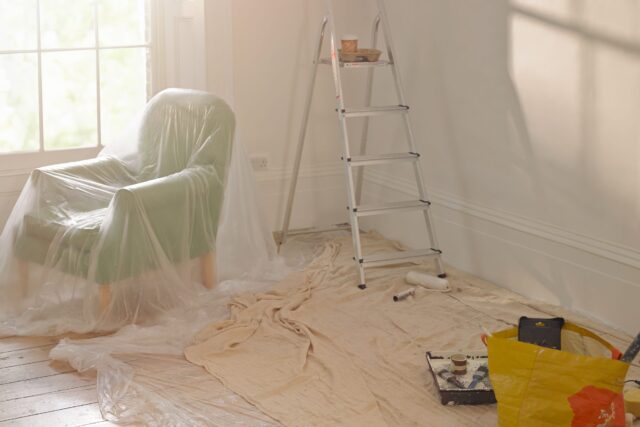
Before you can begin painting, the room needs to be prepped for the job. This is the most time consuming and labor intensive step of any paint project. First, all furniture should be moved out of the way as best as possible and coverings should be used to protect any remaining furniture and flooring.
All surfaces of the walls and trim need to be washed using a sponge, plain water, and mild detergent. Walls with scuff marks or spots that won’t come clean will require some sanding down with medium-grit sandpaper before being washed again. It is also a good idea to use a putty knife to fill in any cracks or nail holes before painting begins.
Finally, after the room has been washed down once more it is time to begin applying primer where needed. When finished, your surface is now ready for painting!
Applying the Paint
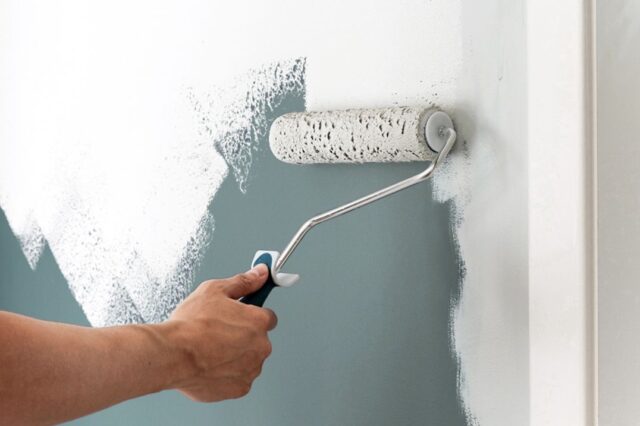
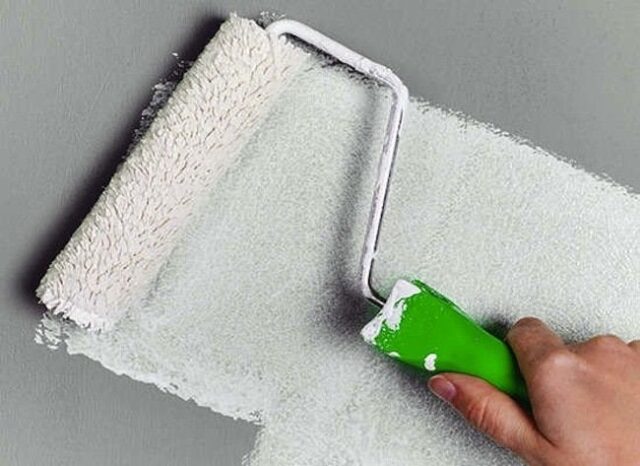
To apply the paint, you will need a roller or brush. Using a roller is typically faster than using a brush and will provide an even coat on most walls. Start by pouring some of your chosen paint in a tray and use long strokes to roll it onto the wall in large “W” shapes or “M” shapes. Aim to start at the top of each area and work downwards so that any drips are caught by your roller, preventing them from running down your perfectly painted wall!
You may need more than one coat for an even finish, depending on your desired quality of painting – this all depends on preferences so take the time to assess afterwards! If you do need another coat, it’s advisable to wait until the previous one has dried before applying this second layer; this could take several hours depending on temperature and humidity levels in your room as well as how thickly it was applied. Always refer to manufacturer’s instructions regarding drying times as each coating can vary in product specifications.
Finishing Touches
Finishing touches should always be an important part of the painting process to ensure the best possible results and a professional-looking finish. Once you have filled in all the larger areas of your walls, it’s time to turn your attention to those smaller sections and details that can really make a room stand out.
It’s also important to consider any special detailing that needs to be done. If there are any corner trim pieces or baseboards, these should be painted separately and added back on after the main walls are finished. This can help provide definition around each area, rather than blending them together.
Additionally, it’s important to take into account any edges or existing finishes that you may want to refinish along with all the other surfaces in your rooms. Doing so will help ensure all these elements match up and blend together properly for an orderly finish with few if any mismatches or inconsistencies across various surface areas throughout your large room.
Cleaning Up
Before you begin painting, you will need to make sure the surface is properly prepared. This includes removing any furniture, sweeping or vacuuming the floors, and thoroughly cleaning the walls. You should also fill any visible holes with spackling compound and sand them down smooth before painting. For extra protection against staining, consider applying a coat of primer to your walls prior to painting. Finally, cover up any fixtures (like light switches) with painter’s tape and lay down drop cloths to protect your surface from drips and splatters. Once your room is properly prepped for painting, you can begin the process of transforming it colorfully!
Conclusion
When painting a large room, it is best to focus on creating a healthy painting environment that includes ventilation, protection for yourself and the walls, and preparation of the surface you will be painting. Once the supplies are gathered and the space is ready for painting, it is possible to complete painting a large room quickly. To speed up the process, use high-quality paint brushes and rollers if brushing by hand or modern spray-painting equipment for larger areas. Use drop cloths to avoid drips and spills and cover furniture or move them away from the walls completely before you start to paint. Lastly, begin with ceilings and trim before moving onto walls. With these helpful tips in mind, you can quickly transform your large room into something special!


