
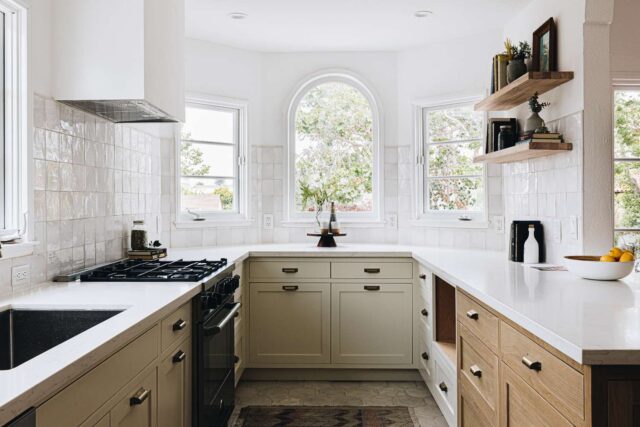
Painting a tile backsplash is a fantastic way to revitalize your kitchen or bathroom without the need for a complete renovation. This guide is tailored for beginners, taking you through the process step by step, ensuring a stylish and successful transformation of your space.
Understanding the Basics of Tile Painting
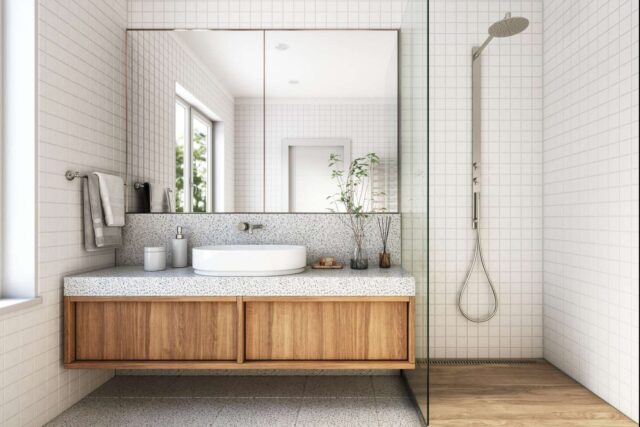
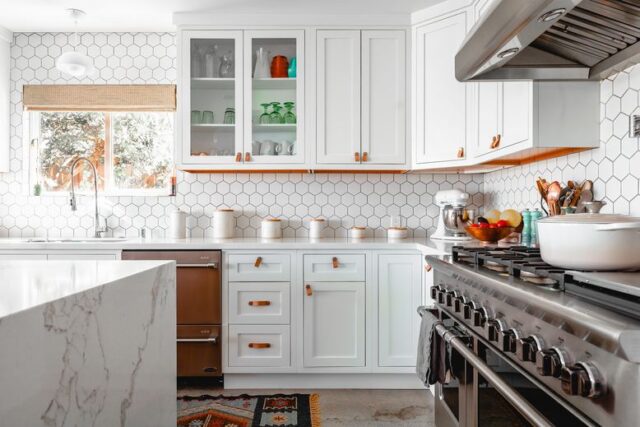
Before diving into the project, it’s crucial to grasp the basics of tile painting. This isn’t just about applying a coat of paint; it involves preparation, choosing the right materials, and understanding the process. The goal is to achieve a durable and aesthetically pleasing finish that can withstand the moisture and wear typical in kitchens and bathrooms.
Selecting the Right Paint and Tools
The key to a successful tile backsplash painting project is using the right type of paint and tools. Not all paints are suitable for tile, which is a non-porous surface. You’ll need a high-adhesion primer and a semi-gloss or gloss latex paint. These are specially formulated to adhere to tile surfaces and withstand humidity and temperature changes. Also, gather essential tools like a roller, brushes, painter’s tape, and cleaning supplies.
Preparing the Tile Surface
Preparation is half the battle. Start by thoroughly cleaning the tiles to remove grease, dirt, and grime. Use a mild abrasive cleaner and a scrubbing pad for this. Next, repair any cracked or chipped tiles. Once the tiles are clean and dry, apply painter’s tape along the edges to protect adjacent surfaces.
Applying Primer for a Solid Foundation
Applying a primer is a crucial step. It ensures that the paint adheres properly and provides a uniform base. Use a roller for larger areas and a brush for edges and tight spaces. Allow the primer to dry completely according to the manufacturer’s instructions.
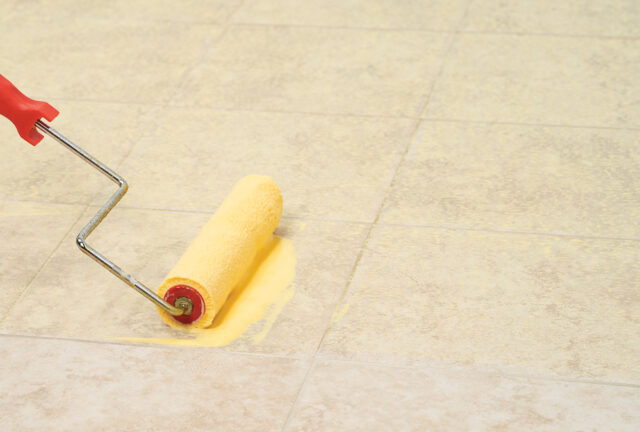
Painting the Tiles
Now comes the fun part – painting. Use a small roller for an even coat and a brush for edges and grout lines. Apply the paint in thin, even layers. It’s better to apply multiple thin coats than one thick coat. Allow sufficient drying time between coats.
Finishing Touches and Maintenance
After the final coat, remove the painter’s tape while the paint is still slightly tacky to avoid peeling. Once everything is dry, you can apply a sealant for extra protection, though this is optional. For maintenance, clean the backsplash regularly with non-abrasive cleaners to keep it looking fresh.
Creative Ideas and Personalization
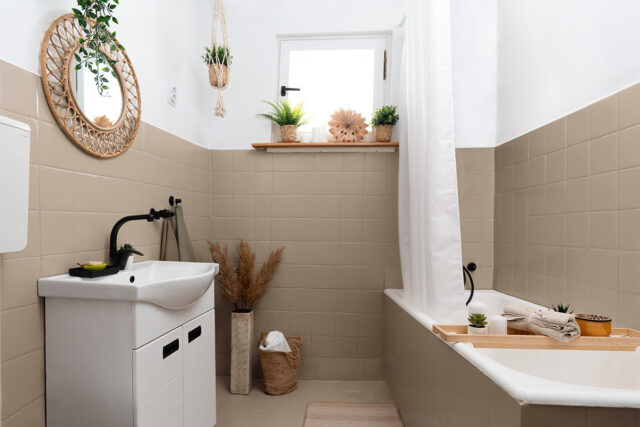
Personalize your backsplash with stencils or color schemes that complement your kitchen or bathroom’s decor. Experiment with patterns or a combination of colors for a unique look. Remember, the beauty of a DIY project is the freedom to make it your own.
Common Mistakes to Avoid
Be wary of common pitfalls like rushing the drying process, applying thick coats of paint, or neglecting surface preparation. These can lead to peeling, uneven finishes, or a less durable backsplash.
Environmental Considerations and Safety
When painting, ensure proper ventilation and use eco-friendly, low-VOC paints if possible. Wear protective gear like gloves and masks to avoid inhaling fumes or getting paint on your skin.
Troubleshooting Common Issues
In any DIY project, you might encounter a few hiccups. For instance, if you notice the paint isn’t adhering well, it could be due to insufficient surface cleaning or priming. If the paint is peeling, this might indicate that the tiles weren’t dry enough before painting or the layers of paint were too thick. Knowing how to address these issues ensures the longevity and beauty of your backsplash.
Choosing Colors and Textures
The color and texture of your paint can dramatically change the look of your backsplash. Glossy finishes are more resistant to moisture and easier to clean, making them ideal for kitchens and bathrooms. Matte finishes, on the other hand, offer a more subdued look. When selecting colors, consider the overall color scheme of your room. Neutral tones offer a timeless look, while bold colors can make a striking statement.
Incorporating Trends Wisely
While it’s tempting to go with the latest trends in home decor, remember that your backsplash is a semi-permanent feature. Choose a style that you’ll be happy with for years to come. If you love experimenting with trends, consider ways to incorporate them in less permanent ways, like through kitchen accessories or wall paint.
The Role of Lighting
Lighting plays a crucial role in how your backsplash looks. Natural light can highlight the texture and sheen of your painted tiles, while artificial lighting can enhance colors. Consider how different types of lighting at various times of the day will interact with your backsplash.
Balancing Function and Aesthetics
While aesthetics are important, the functionality of your backsplash shouldn’t be overlooked. It needs to be easy to clean and resistant to the heat and moisture common in kitchens and bathrooms. Ensure the paint finish you choose aligns with these practical requirements.
Seeking Inspiration and Ideas
If you’re unsure about the design or color scheme, seek inspiration from home decor magazines, websites, or social media platforms dedicated to home improvement. You can also visit home improvement stores to see paint samples and finishes in person.
Final Review and Care
Once your backsplash is painted, step back and review your work. Check for any missed spots or uneven areas. After the paint has fully cured, regular maintenance will keep it looking fresh. Avoid harsh chemicals or abrasive tools for cleaning; a soft cloth and mild cleaner are usually sufficient.
Conclusion
Painting a tile backsplash is a rewarding project that can transform the look of your kitchen or bathroom with a bit of creativity and effort. The process, from preparation to the finishing touches, allows for personalization and can be a fun and engaging DIY activity. With the right approach, you can achieve a professional-looking result that adds character and style to your space.


