
Gel nail polishes are the trend for their unparalleled drying, durable wear, and wide range of colorful designs and aesthetics to choose from. Since it is manufactured from acrylic monomers and oligomers, they undergo the bonding process in the presence of concentrated UV rays from the lamps.
This curing process stiffens the liquid gel into a chemical-resistant coat that can last for months. The advancement in today’s worth and innovative technology boosted the market’s growth, instilling manufacturers to use safe ingredients. All-in-all, they are perfect nail-enhancing products that overlay a base coat, color gel, top coat, acrylics, and wraps.
But a big lie spreading around this beautiful and benevolent nail community is that UV lamps are necessary for curing. This article will prove that statement wrong in 6 ways by giving you effective alternatives to curing your perfectly manicured gel nail polish:
Invest In LED Lamps
LED lamps are the first choice for any gel nail polish enthusiast, and it works wonders due to their inexpensiveness and efficacy. In fact, salons provide a discretionary choice for the client to opt for LED or UV lamps for curing nails. They are also much preferred due to their efficiency in speed-drying your nails. You will be surprised that it takes no more than a minute to dry them!
The first step is to protect yourself; wear fingerless gloves with adequate sunscreen. Make sure you opt for titanium oxide globes due to their effective sun-protective component. Apply a clean base coat and place the hand under the lamp for 45 seconds. Apply 1 or 2 layers of colored coat and cure them again. Lastly, seal the polish with the top coat and cure them under the lamp for 45 seconds to a minute. Use acetone and cotton pads to separate the adhesive finish.
Getting your LED lamps and gel nail polish from the right supplier can determine the perfect manicure look. A reliable nail cosmetic supplier specializes in ever-lasting gel polish finishes by incorporating the most cutting-edge practical, efficient, and vibrant methods. Opting for the right nail polish can promise you weeks of durability, a broad range of colors and collections, a permanent glossy look, and material resistance against damage. Products are made by professional nail artists and manicure experts, thereby instilling consistency, ease of application, and quick curing, and are tied to safety certifications.
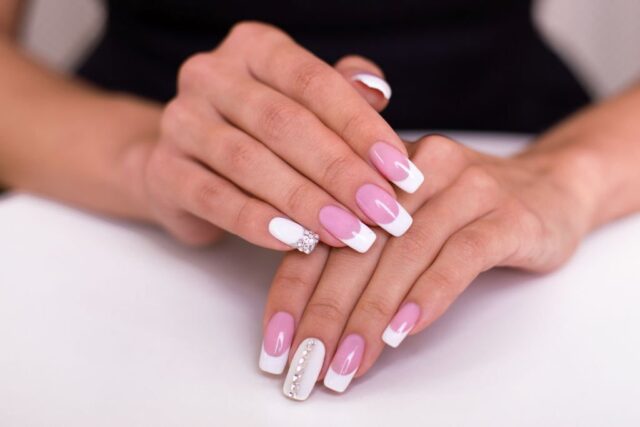
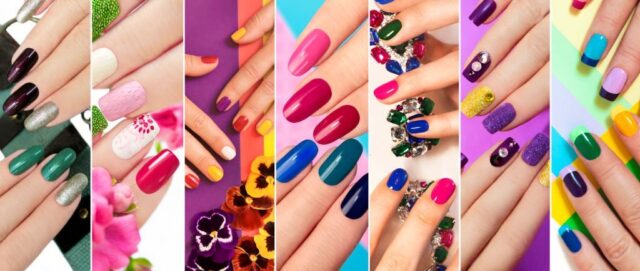
Fortunately, they are comparatively cheaper than UV light. Opting for dermatologist-tested gel polish starter kits will encompass UV-induced LED lamp bridge, base polish, top and colored polish, dust-free pads, acetone, and a nail cleaner for a perfect at-home manicure. Choosing the right supplier can make all the difference, and they can provide you with a wide range of choices from delicate french, classic nude wine, black diamond, beige rose, to glossy indigo.
Sunbathe The Nails
Although UV light is the best choice for curing polished gel nails, the good news is that the ultraviolet ray machine is not the only source; you can get plenty of UV rays and Vitamin D from the big ball of plasma in the sky. Not only is it more natural and good for your nails, but it is also better than most of the harmful ultraviolet curing machines out there. Make sure you adequately protect your skin with sunscreen. Be mindful that this process takes longer than UV lamps out there.
Make Use Of Cooking Sprays
Although a little eerie, cooking spray works wonders with gel-based polishes. This method is extremely convenient because it saves you the time of walking to the nearest beauty salon, and these sprays are also available in every kitchen. Spread big sheets of newspaper or tissues on the countertop and spread your finger to the extent possible so that they are far apart.
Keeping the cooking spread a few inches away, generously spray the nails until dripping wet. Do the same for the other hand, and let them air dry. The best part about this method is that it hits two birds with one stone by moisturizing your cuticles and skin. Make sure your hands don’t stay busy while it is in the drying process, for they can turn adhesive. After it has been cured, wash your hands thoroughly.
Prepare An Ice Bath

Ice baths are considered the life hack for curing gel nail polish. You must make a steep bowl of ice and water and submerge your nails to soak. The lowered temperature will freeze-harden the polish and cure it to the tip.
After applying the top coat for the gel polish, let them breathe and dry in an open atmosphere for 2-3 minutes. Take a shallow dish, fill it with ice water, and soak your nails until fully submerged. After about 5-10 minutes, take them out and let them air-dry for an hour.
Remember that although the nails feel hardened after the bath, they are not fully cured yet, and the last step is crucial to get them permanently dry. Depending on the local weather conditions, you may also need to dry them for more time.
Use Non-UV Gel Nail Polish
Non-UV gel nail polishes are growing in demand, solely due to the expensive investments in UV lamps and their harmful side effects on the cuticles. If you want to stay lowkey with the curing process, then you could skin the alternatives and opt for non-UV gel nail polishes. Such nail polishes do not possess monomer bonding characteristics under ultraviolet conditions and can be dried through simple air-drying like any other standard paints. They have applied in the same manner as ordinary gel nail polishes: the base coat, the color coat, and then the top coat.
Use Cooking Oil
While on eerie and skeptical ways to dry your nails, cooking oil is next on the list. Cooking oil is a perfect application because it takes less time and is safe to use. Remember to wash off the oil after the polish has dried.
Conclusion
All-in-all, a great preventive measure is always applying thinner coats for a faster and more effective drying process. If you know that you won’t be able to use a UV lamp, applying 1-2 coats would facilitate a much faster drying process using the above tips. Ensure to hydrate your nails before applying quality nail oils and water.
The perfect starter kit will include top coat finishes that would work perfectly with the other items, and ignoring it can lead to damaged nails. Prevent your nails from heat, and regularly file your nails. Sexy and glossy nails are no more a luxury!


