
DIY can be a great way to save both time and money when it comes to getting your passport photos taken. It’s important to understand some of the basics before you start, however, so that you can get the best possible results. This shouldn’t be too hard, just make sure to incorporate all the tips we give you, and the result will be satisfying.
Choosing the Right Camera and Equipment
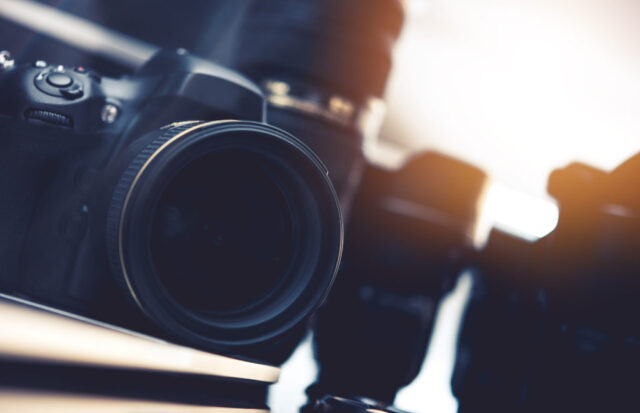
For those who don’t want to spend extra cash for a professional passport photo, there are some easy and inexpensive DIY passport photography tips to follow. To start out, you must choose a camera and equipment that meets the specific requirements of passport photos.
For starters, a camera with manual exposure settings is recommended for portrait photography. A digital single-lens reflex (DSLR) camera with zoom lenses is a great option for this as they allow you more freedom to adjust exposure, depth of field, and other settings when preparing passport photo print. Another popular method is using a smartphone with a dual-camera setup or a mirrorless digital camera designed specifically for portraiture.
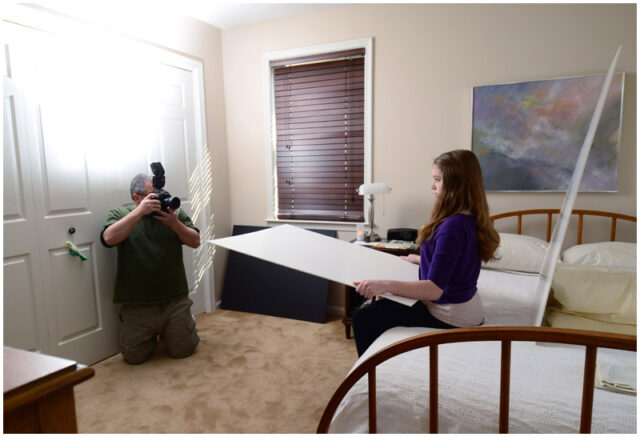
Preparing the Space and Background
Before starting to take a passport photograph, it is essential to prepare the space for the picture and thus the quality of the final result. The setup does not require complex materials, but it should guarantee enough light and seamlessly uniform background.
The surface that you take the photograph on must be appropriate; select a plain background, preferably white or light gray in color, and avoid any patterned backdrop. You want enough room around your head so that when you print out the picture, two inches (five centimeters) of space remains between your forehead/chin/hairline/ears and the edge of the frame. Consider using furniture such as bookshelves or chairs to support yourself at this distance from the camera if necessary.
Finally, remove any items from within the frame that could distract from the focus on yourself: Remove any reflecting surfaces such as neighboring walls covered with mirrors or metal; hide cords if possible; eliminate clutter from shelves, desks, and other areas visible through your chosen background before taking each photo – this includes bags, makes items, etc.; make sure anything hanging behind you does not interfere with cropping – for instance, padded clothing over pockets should be removed, etc..
Lighting Techniques
To get the best possible pictures, it is recommended to take your pictures near a large window or outdoors during cloudy days. Utilizing natural light can help diffuse shadows and create even, beautiful lighting throughout the whole image.
For indoor setups, you will want to shine lights at both sides of the camera such as lamps, ring lights, or softboxes. Your goal should be to have soft shadowy lights on both sides of your face without any strong shadows on either side. This will help to show more accurate skin tones and highlight facial features more evenly across all areas of the photograph.
You can also purchase specific backdrops dedicated to passport photography – this will ensure that there are no distracting backgrounds in your final images and save you time from having to adjust for any background elements before submission.
Capturing the Perfect Shot
Keep Your Head Straight: You’ll want to make sure that your head is positioned correctly for the photo. It should face forward, with no tilting and no visible shadows on your face or shoulders from any nearby lights. Having someone else use a ruler can really help you get this part right!
Use Neutral Clothing: To maintain a uniform look, neutral colors like black, white, blues and grays are best for passport pictures. Avoid wearing anything too intricate that might draw attention away from your face – simple shirts work best (and hats/headpieces should not be included at all).
Frame Yourself Properly: A passport photo should only show from the collar up, so make sure to align it according to strict standards – framing around 23-35mm in total from the top of the head to the bottom of the chin (in other words keep it nice and tight). Keep facial expressions neutral as well – no smiling, please!
Make Adjustments If Necessary: Once you have taken the picture, take some time to assess it closely before submitting it officially – check any pesky shadows or errors that may appear and use tools available if necessary to make slight adjustments (for example if one side appears too dark than another one). The end result completed needs to match the original picture as closely as possible as small deviations can lead to rejections/delays in applications being accepted.
Post-Processing and Editing
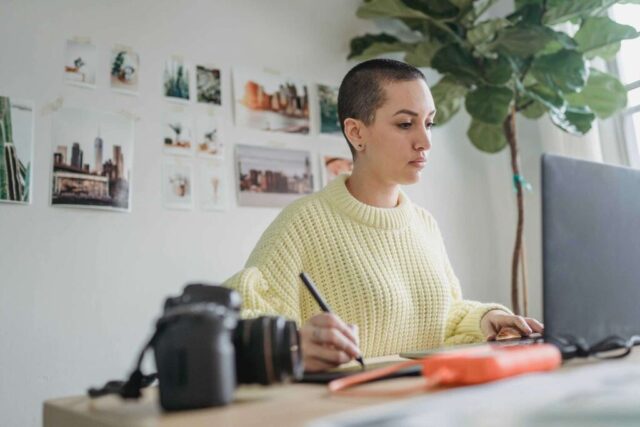
Once the photos have been taken, it is important to post-process and edit them to ensure that they meet the criteria. Here are a few post-processing and editing tips to try:
-Use clarity and sharpening tools to bring out detail in the photo. Clarity will add contrast and make facial features more visible.
-Brighten the photo if it comes out too dark. Use a brightness adjustment tool or sliders in Photoshop or similar software.
-Check if any shadows are present in the background of the photo, as these can be distracting for passport photos. If there are any, use the erase tool or clone stamping technique to remove them from the image.
-Crop the photo if necessary for your specific passport specifications (e.g 4×6 inches). Make sure all four corners of your subject’s head are visible to avoid rejection from immigration offices and passport agencies worldwide.
-Lastly, save your picture as a high-resolution JPEG file with no compression applied before submitting it as part of your passport application documents!
Final Thoughts
Taking your own passport photo can help you save time and money while ensuring that your documents comply with all the requirements. Before clicking away, make sure to follow the guidelines and tips mentioned above to ensure that everything looks right. If something still seems off, take another one! You’ll likely get it right if you take the time to double-check all aspects.


